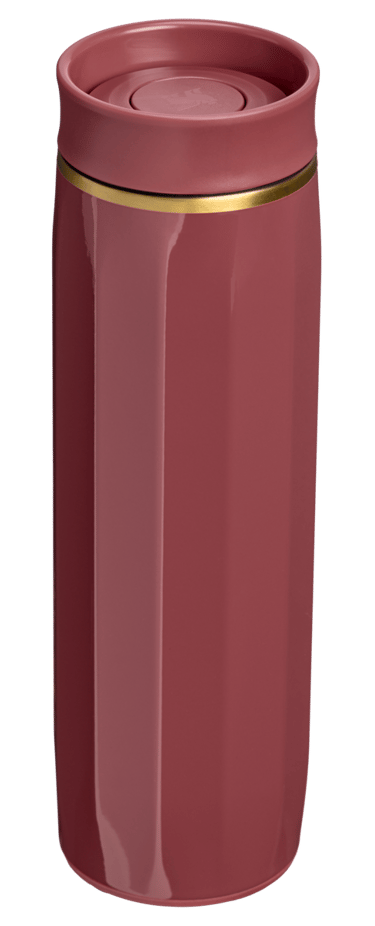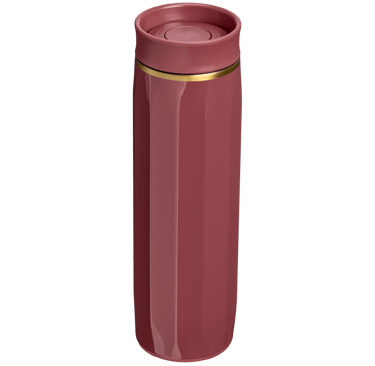
Stanley Surround Lid
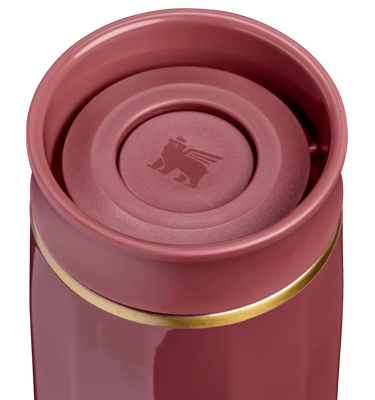
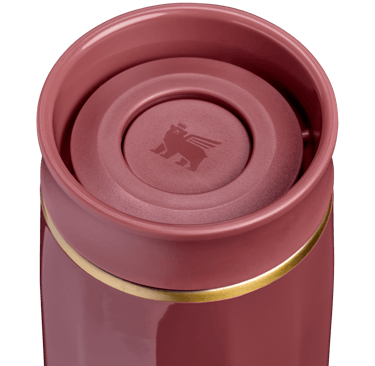
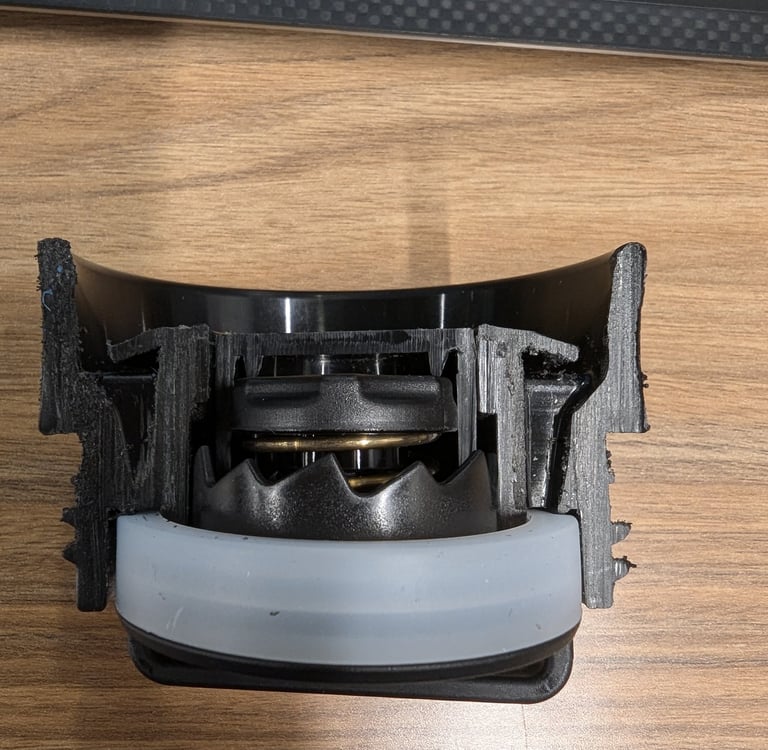
Sip in 360 degrees. Just push the center button down to open and drink from any point around the rim – push again and it’s leakproof.
Role: Lead Mechanical Engineer
Time: 1.5 years (Concept to Production)
Outcome: Successful new-to-business Launch
Empathize
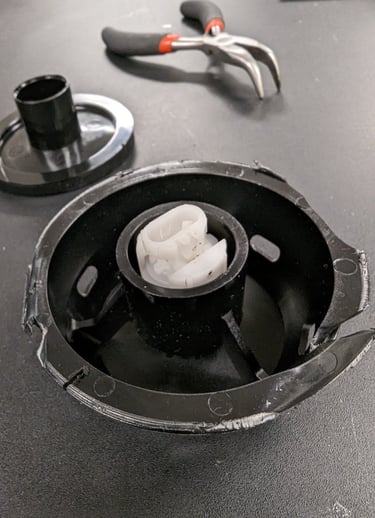
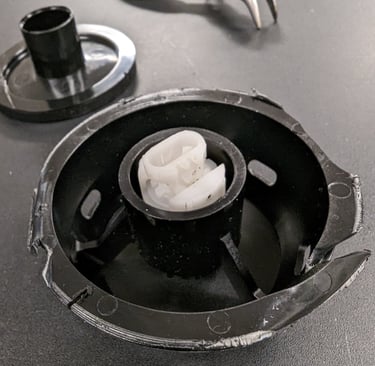

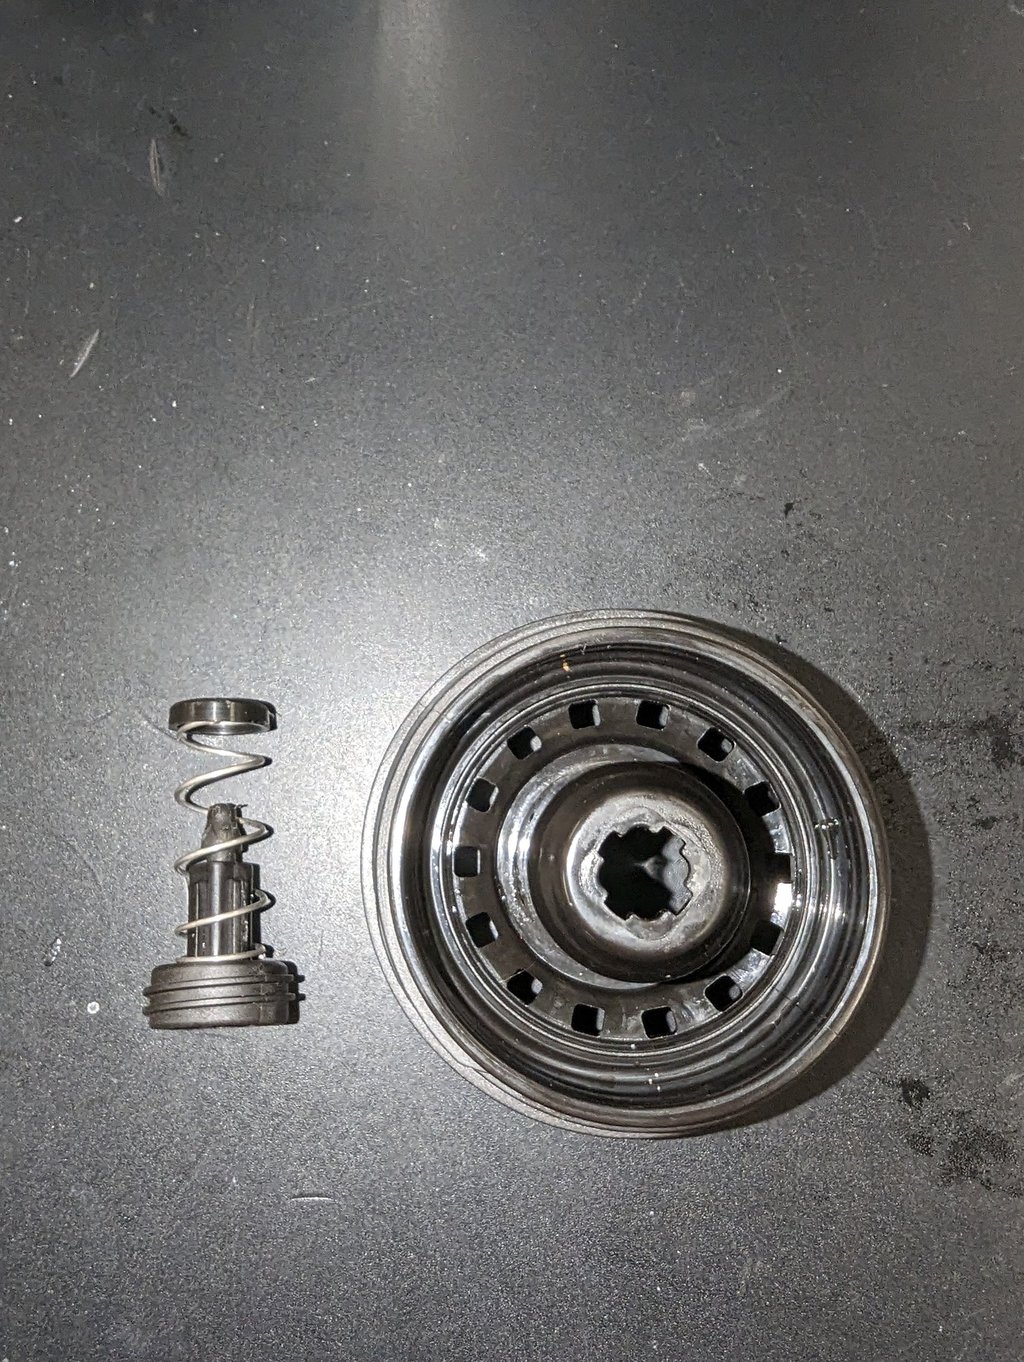
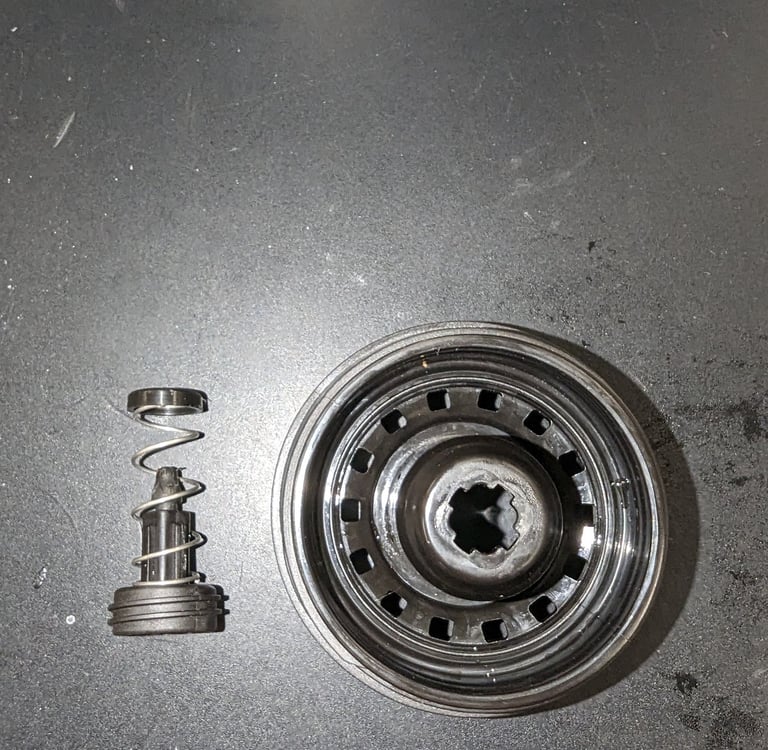
A technical teardown of current 360° drink-through lids to analyze spring rates, seal interfaces, and assembly complexity. By identifying high-friction points and cleaning challenges in existing mechanical closures, I established a baseline for improving both user experience and long-term reliability.
Ideate, Prototype, Test
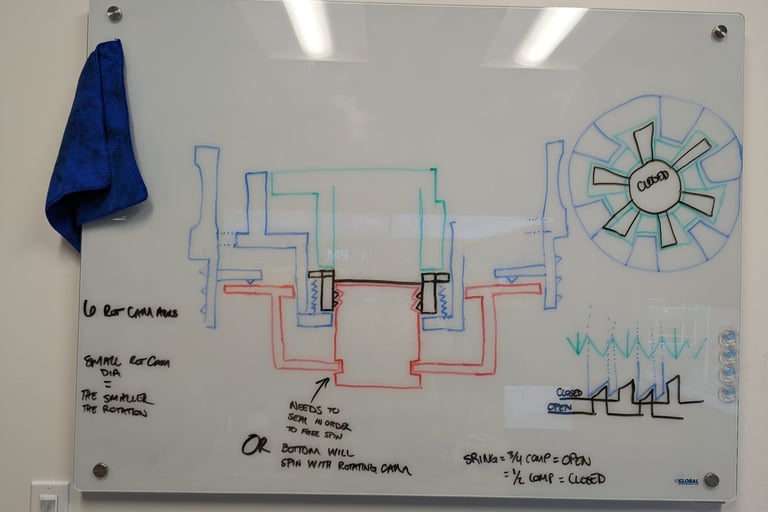
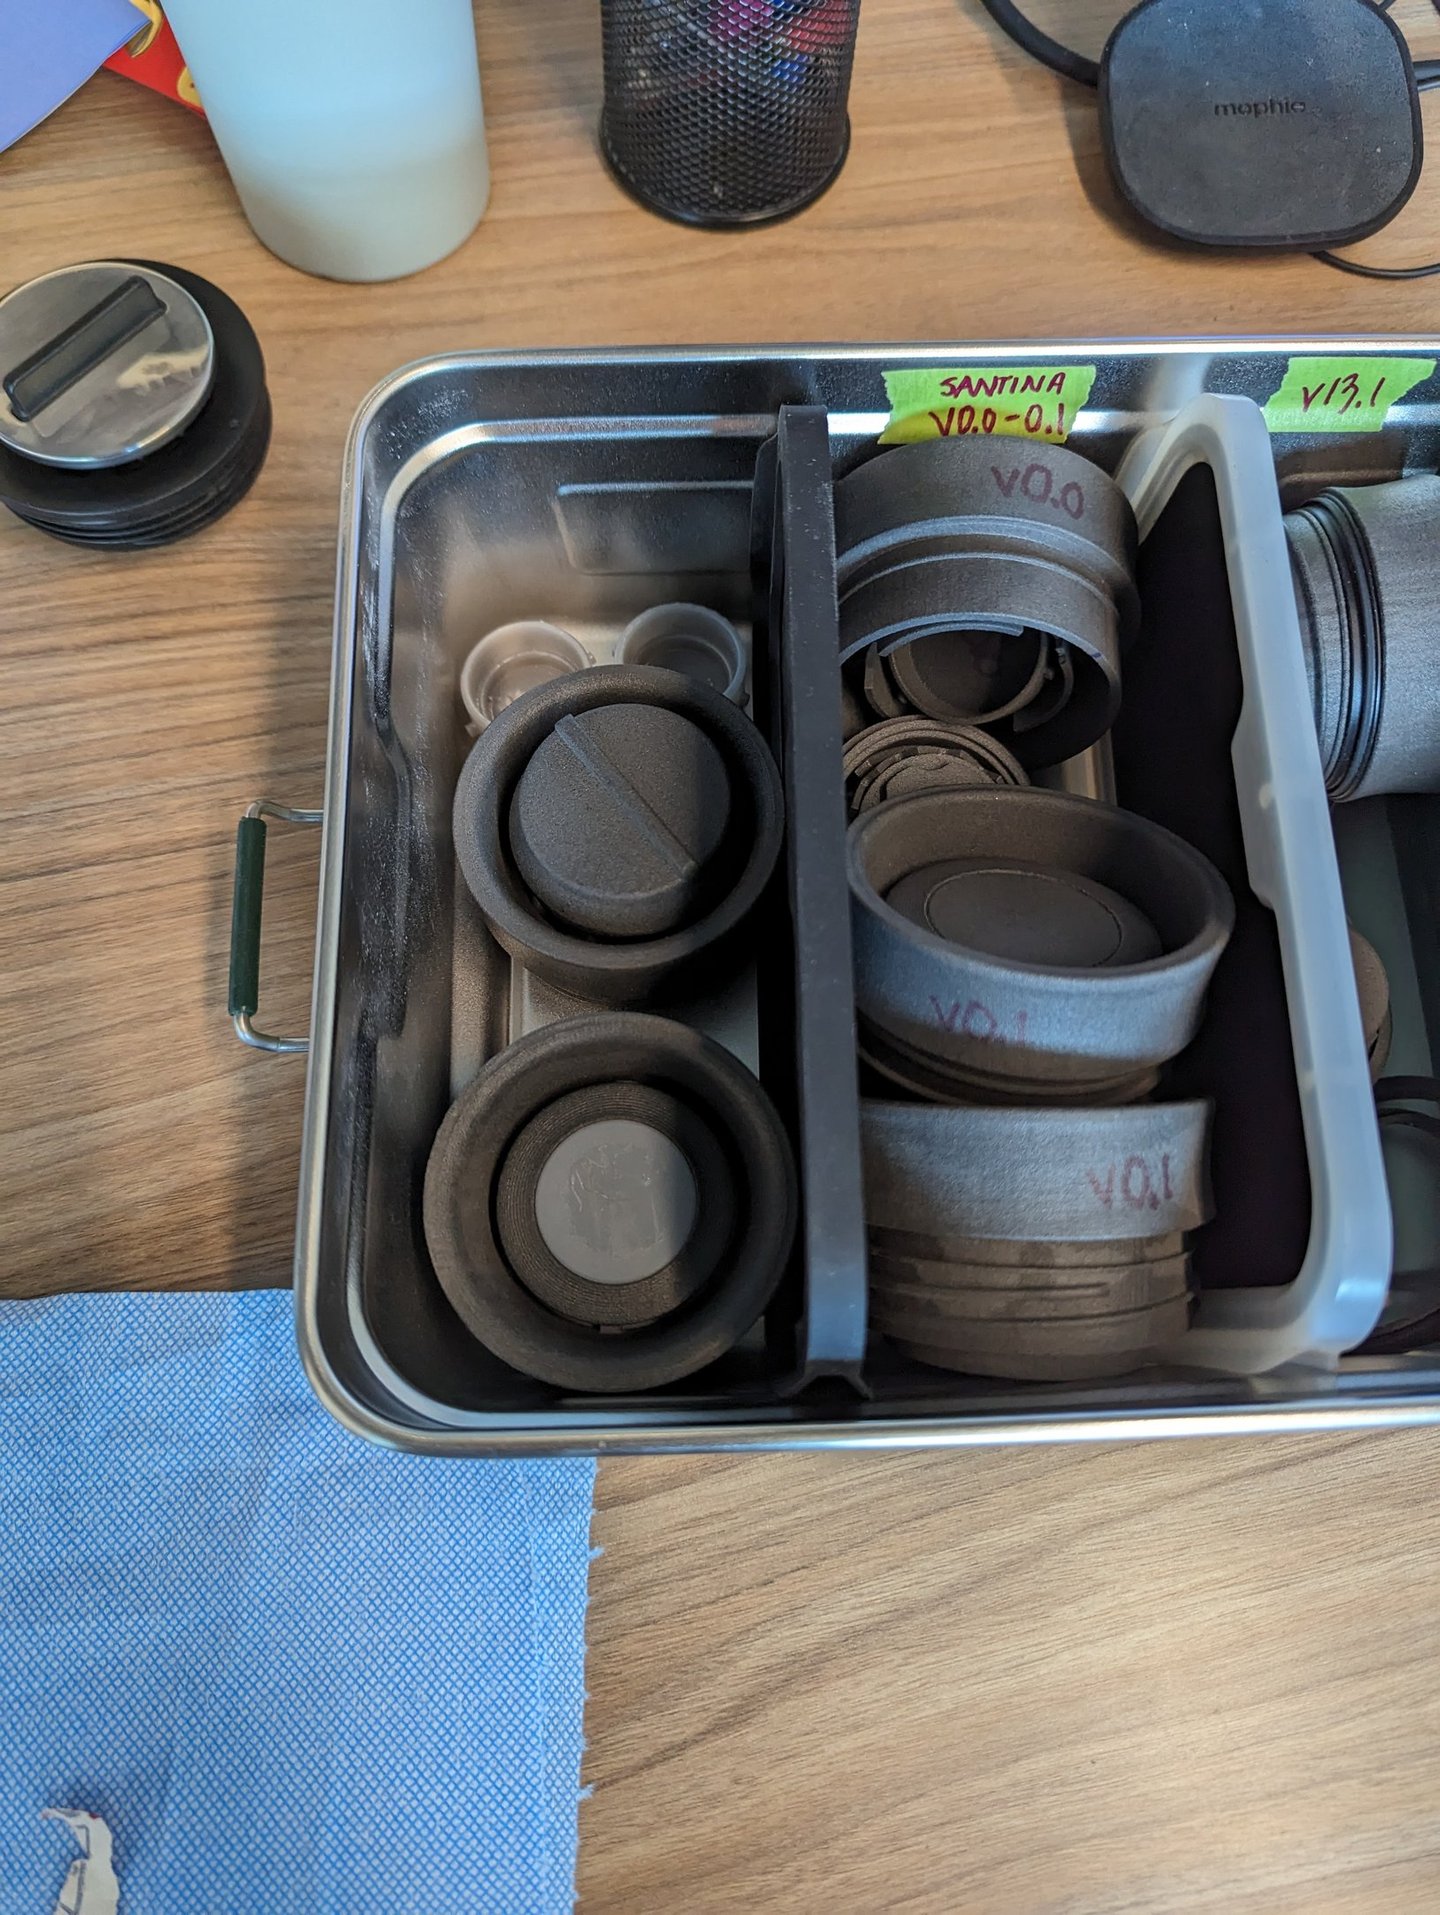
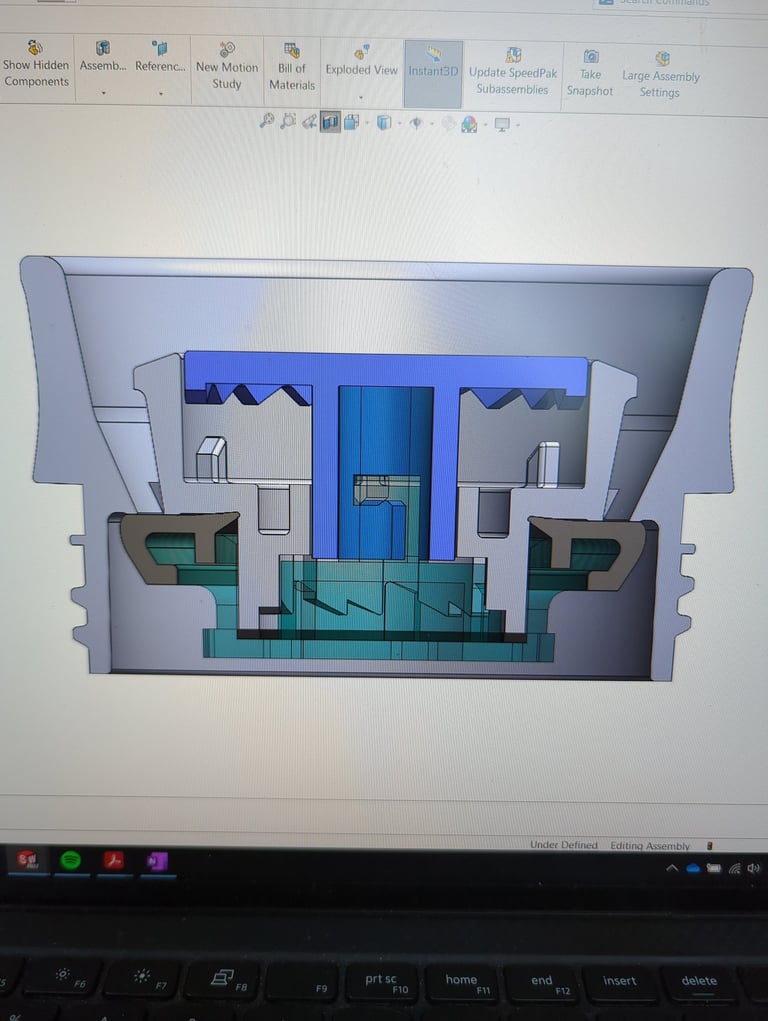
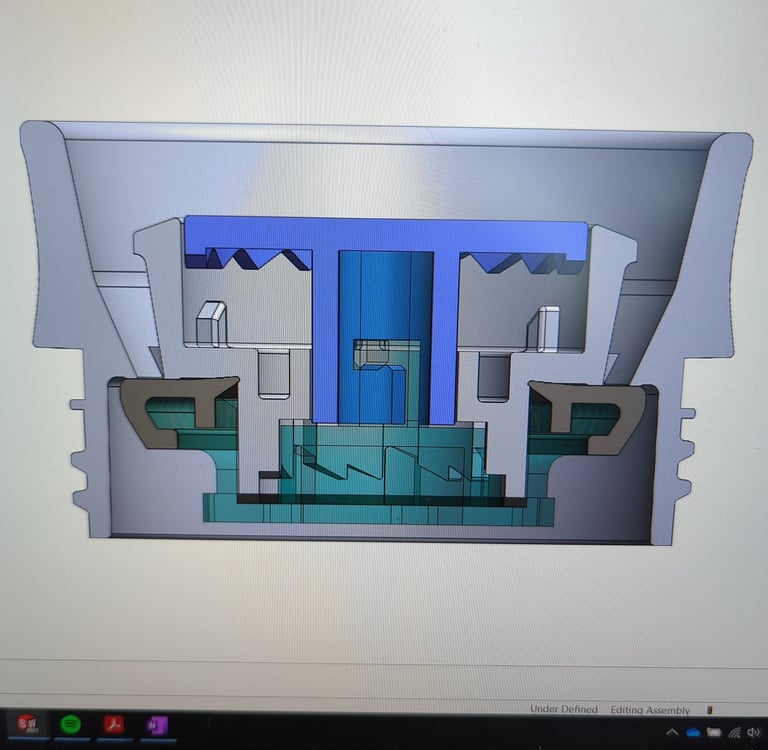

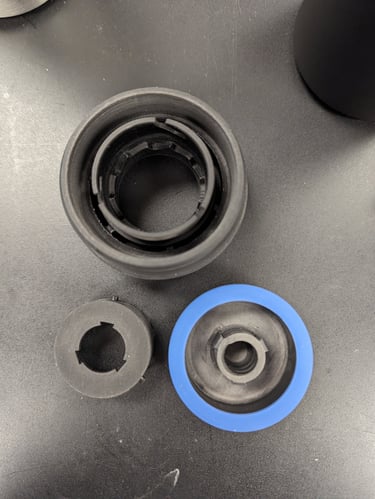
Great user experiences aren't born on the first try. While the initial concept for this 360 drink-thru lid was promising, functional testing proved we needed a completely different internal structure to guarantee a consistent, smooth mechanism.
To get there, I ran a relentless prototyping loop, producing over 20 in-house iterations utilizing both FUSE SLS and Formlabs resin printers to rapidly test tolerances and component fits. To remove all guesswork before tooling, I also sourced out-of-house prototypes in the actual production materials, ensuring our physical testing directly matched final manufacturing intent.
Defining the Challenge
User Needs
Drinking and Driving; No Look Operation
Leakproof
Single Hand Open/Close
For Hot and Cold Liquid Use
Easy to Clean
Quiet Open/Close
Intuitive indication of Open/Close
Product Requirements
360 Degree Drink Surface. Maximize touchpoint size.
Pass internal and external leak test standards.
Push Button Opening Mechanism; Open force < 3 [kg-f].
Pass internal thermal standards.
Dishwasher Safe. User can fully disassemble.
Pass user testing.
Flush Button = Closed. Low Button = Open. Color Hit.
Built for the person on the go. Moving through airports frequently, looking for a bottle that fits snug in their bags side pocket, seamlessly matching their luggage and travel accessories.
Validation & Analysis

Task 1: Drink out of 360 Lid
“Lip is thick”
Scenario 2: Pretend like you are going to clean the lid. (Want them to disassemble)
“I see a handle and I can do something with a handle”
“Would not think to unthread the subassembly”
Task 3: Assemble the partially taken apart lid (3 Pieces).
“This feels like fairly straight forward”
“I wonder if it is familiar to me because I have the trigger action mug”
“Button is loose and nothing to indicate it is in the right place”
Task 4: Assemble the fully taken apart lid 2x.
“I feel like I am putting together a gun”
“These little bump outs indicate that these might go here”
“oh look and there are divots to match the divouts”
“this one goes first because it slits into those keys”
Task 5: Drink out of the MiiR 360 Lid
“I hate that noise” – referring to clicking the Miir
“I like the flatness of the push botton”
“My face feels crowded, my noise is all up in there”
Task 6: Pretend like you are going to clean the MiiR 360 Lid
“I like that I have the option to take apart the Stanley but probably wouldn’t do it that often”
“I can’t get inside the Miir and clean it”
Task 7: Identify which lids are open or closed without pushing the button or drinking out of the lid.
“Stanley is easier to tell – I just guessed on Miir”


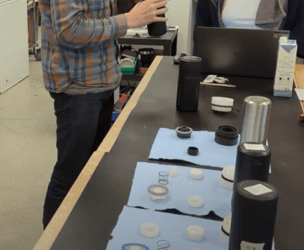
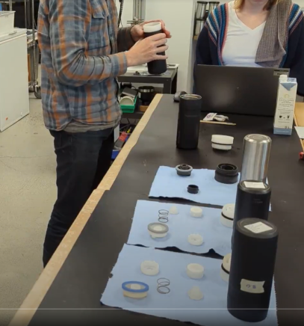
A CAD model can look beautiful, but a successful consumer product must pass two distinct hurdles: it needs to survive real-world mechanical stress, and it needs to be completely intuitive in a user's hands. To prove the 360-degree lid mechanism was truly production-ready, I designed a dual-validation testing phase combining automated mechanical stress with real-world user data.
Mechanical Life-Cycle Testing:
To remove the guesswork from long-term durability, I designed and built an automated, linear-actuated life-cycle testing rig to physically simulate the repetitive stress of daily use. By putting the physical assembly through continuous open-and-close cycles in the lab, I was able to stress-test spring fatigue, catch potential plastic wear points, and guarantee consistent actuation long before tooling.
UX Observation:
Capturing live behavioral data to evaluate how intuitively users handle, align, and assemble the component parts.
The Learning Curve:
Data showing that while an unassisted first assembly averaged 2 minutes and 35 seconds, the user learning curve flattened instantly on the next attempt, dropping to a highly efficient 43-second average.
Consumer Sentiment:
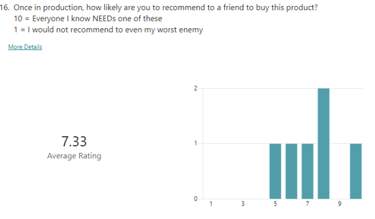
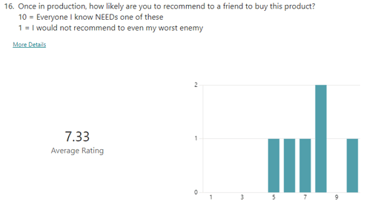
At-home trial data proving the pivot to a more consistent internal structure paid off, earning a 7.33 average recommendation score from testers
Human-Centered UX Studies:
In-Person Observational Testing: We conducted live, structured interviews to capture how users naturally interacted with the components. By recording tasks without providing instructions, we gathered observational data on assembly intuition, timed their attempts, and identified areas to refine ergonomics.
At-Home Trial Surveys: To validate performance in everyday routines, participants took functional prototypes home for extended testing, providing quantitative feedback on long-term satisfaction.
Optimize for Production

Moving from a working prototype to high-volume mass production requires shifting focus from how it works to how it’s reliably made. To prepare the 360-degree lid for hard tooling, I led the technical optimization phase to ensure maximum manufacturing yield, flawless part molding, and strict assembly compliance.
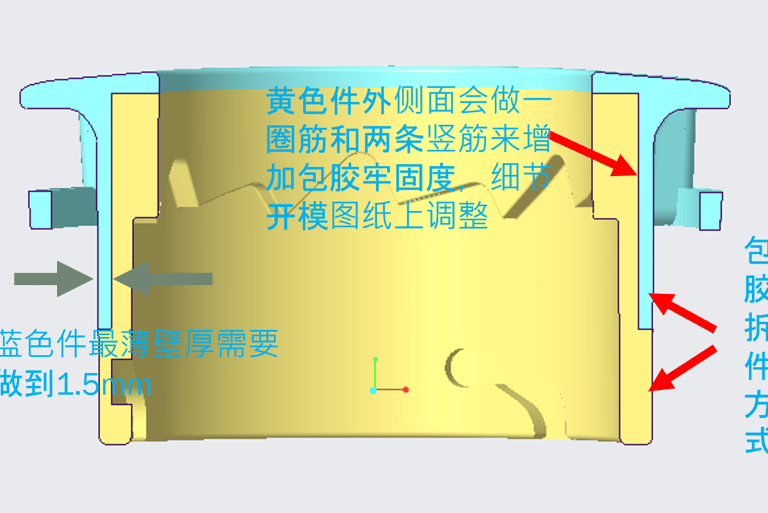
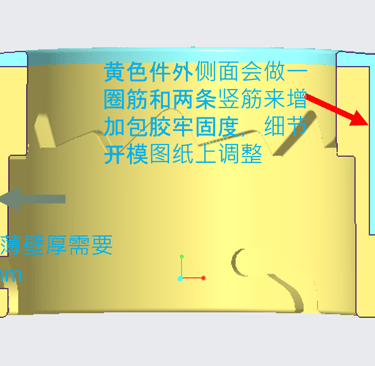
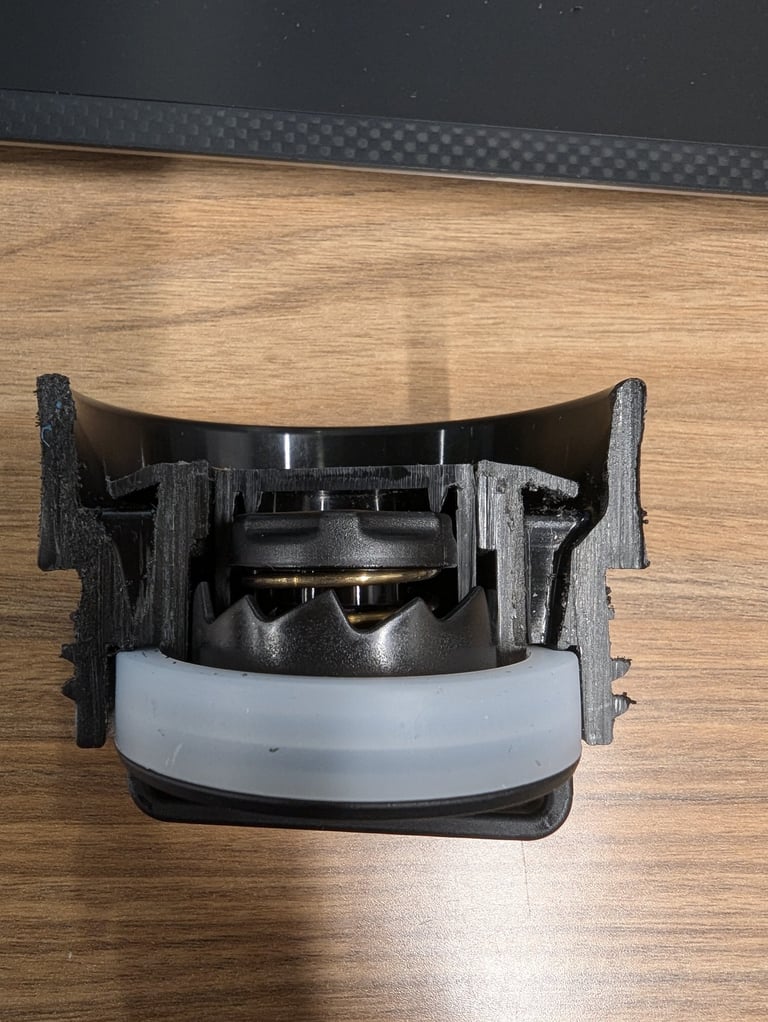
Cross-Border DFM Collaboration: I worked hand-in-hand with our manufacturing and engineering teams in China to execute a rigorous Design for Manufacturing (DFM) review. We addressed complex tooling challenges, including optimizing the split-line and overmold strategy for the lid body to ensure robust bond strength, uniform wall thicknesses, and clean cosmetic transitions.
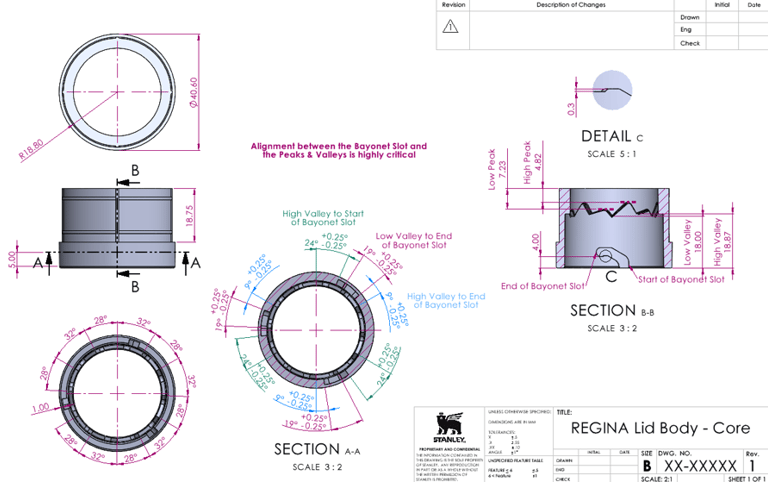
Critical Tolerance Stack-Up: Because this mechanism relies on a highly precise click-actuation, geometric control was paramount. I conducted an intensive tolerance stack-up analysis to explicitly lock in the angular and linear relationships between the internal cam peaks, valleys, and the bayonet slots, ensuring fluid-tight sealing and smooth mechanical travel under all molding variances.
Material & Geometric Optimization: We balanced structural requirements with manufacturing constraints, ensuring wall geometries met tight plastic injection guidelines to completely prevent sink marks, flashing, or structural binding.
Results